In the vast digital landscape of social media platforms, Facebook stands tall as one of the pioneers and powerhouses. With billions of users worldwide, it has become a virtual hub connecting friends, families, and acquaintances from all corners of the globe. As we evolve and grow in our online presence, sometimes our identities change as well. Whether you’re getting married, rebranding yourself professionally or simply feel like reinventing your online persona, changing your Facebook name can be a small but significant step towards reflecting your true self. In this article, we’ll walk you through the simple yet essential process of changing your name on Facebook – empowering you to express your identity authentically within this virtual realm.
Step 1: Accessing Your Facebook Settings
To change your Facebook name, the first step is to access your Facebook settings. This may seem like a simple and straightforward task, but learning how to navigate through the settings can be incredibly useful for other aspects of managing your account as well. Once you have accessed your settings, you will be able to customize various aspects of your profile, such as privacy settings, notifications, and even the layout of your news feed.
To access your Facebook settings, start by clicking on the downward arrow located at the top right corner of any Facebook page. A menu will appear, and from there, select Settings & Privacy and then click on Settings. This will take you to a new page where you can explore different categories such as General Account Settings, Security and Login, Privacy among others.
Take some time to familiarize yourself with each category in order to gain full control over your Facebook experience. By accessing these settings regularly, not only will you be able keep your personal information secure but also tailor the platform’s features according to your preferences. It’s empowering knowing that you have complete control over what others see on their feeds when they interact with you!
Step 2: Navigating To The General Account Settings
Once you have logged into your Facebook account, it’s time to navigate to the General Account Settings. This is where you can make various changes to your profile, including changing your name. To get there, look for a small downward arrow in the top right corner of the Facebook page. Click on it, and a drop-down menu will appear. From this menu, select Settings – this will take you to the main settings page.
On the left-hand side of the settings page, you’ll see a list of different categories. Look for and click on General. This will then show you a range of options related to your basic account information. One of these options is Name. Here, you can edit or change both your first and last name as desired.
Changing one’s name on Facebook may seem like a minor task, but it holds significance for many individuals who want their online presence to align with their true selves or new identities. Some might choose to modify their names due to personal growth or newfound interests they feel should be reflected in their digital lives. It’s important that social media platforms provide users with flexibility when it comes to self-expression so that everyone can curate an online persona that feels authentic and empowering for them.
Step 3: Editing Your Name
When it comes to editing your name on Facebook, there are a few key things to keep in mind. Firstly, make sure you’re aware of Facebook’s naming policies and guidelines. These rules exist to ensure that people use their real names and reduce the likelihood of impersonation or harassment. So, while you might be eager to change your name to something fun or creative, it’s important to select a name that reflects your true identity.
Additionally, before making any changes, consider how your new name may be perceived by others. While you have the freedom to choose any name you like within the guidelines, remember that your Facebook profile is often accessible by potential employers and other professional contacts. Choosing a professional-sounding name can help establish credibility and make a positive impression on those who view your profile.
Finally, don’t forget to update your friends and connections once you’ve successfully edited your name on Facebook. This can prevent confusion among those who might not recognize the new spelling or unfamiliar moniker. It also provides an opportunity for friends who may not have seen or interacted with each other for some time to reconnect.
Step 4: Choosing A New Name And Saving Changes
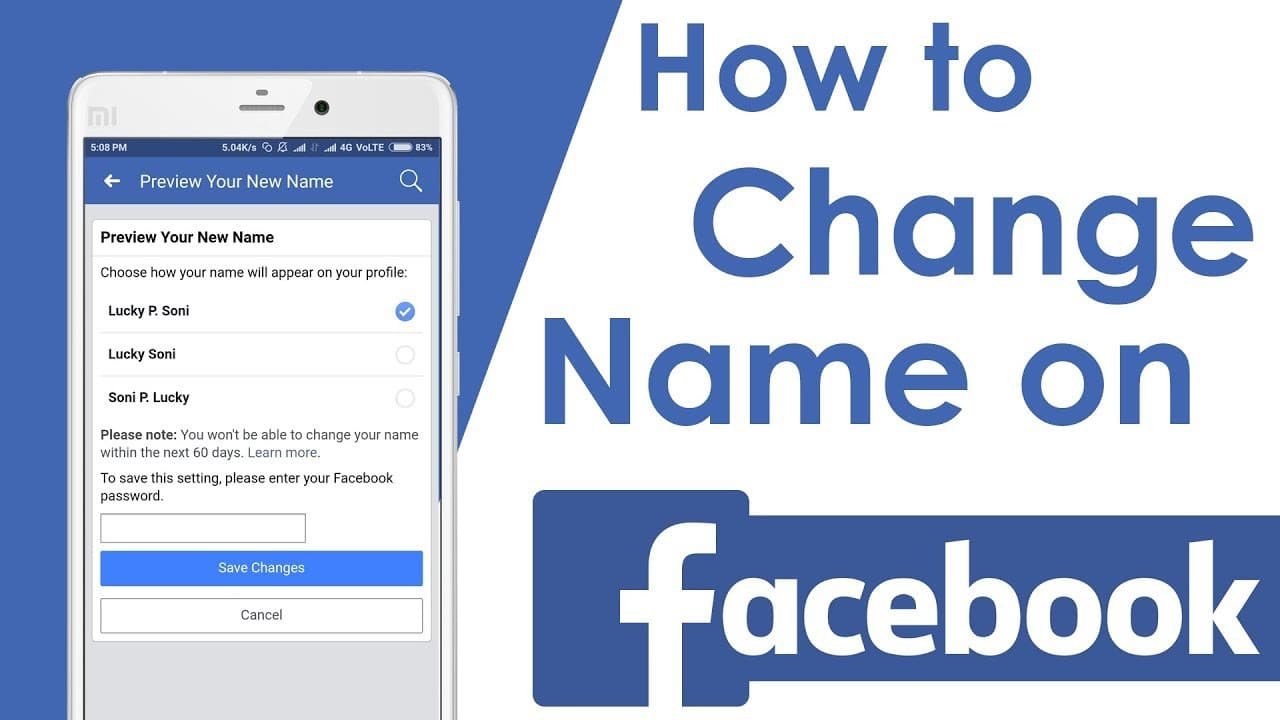
Now that you’ve thought long and hard about the perfect name to represent your online identity, it’s time to make it official. Changing your Facebook name is an exciting moment that can help you redefine yourself or simply reflect a change in your life. When choosing a new name, consider how it aligns with your personal brand or how you want to be perceived by others. Will it resonate with your friends, family, and colleagues? Will it accurately convey who you are? These questions should guide you in selecting a captivating and authentic name that represents the best version of yourself.
Once you settle on the ideal moniker, saving changes on Facebook is as easy as pie. Simply navigate to the Settings tab at the top right corner of the screen and click on Personal Information. From there, scroll down until you reach your current name and click Edit beside it. Type in your new name in the designated field and ensure all spelling is correct before proceeding. Remember, once changed, there might be limitations on editing this information again for some time. With anticipation building up inside of you, hit that magical blue Save Changes button at the bottom of the page—voila! Your new identity will now grace your profile for all to see.
Changing names can be both liberating and nerve-wracking simultaneously since we are inherently attached to our identities.
Conclusion:
In conclusion, changing your Facebook name can be an exciting opportunity to create a new identity for yourself online. Whether you’re rebranding for personal or professional reasons, embracing this change can open up doors to new connections and experiences. Remember, your Facebook name is a reflection of who you are and how you want to present yourself in the digital world.
With your new Facebook identity, it’s important to keep in mind that authenticity is key. While it’s tempting to create a persona that may not accurately represent who you truly are, staying true to yourself will lead to more genuine connections with others. Don’t be afraid to showcase your passions and interests through your profile, as it can attract like-minded individuals who share similar hobbies or goals.
Lastly, enjoy the journey of exploring this new version of yourself on Facebook! Use this platform as an opportunity to learn more about different cultures, communities, and perspectives from people all around the world. Engage in meaningful conversations and build authentic relationships that extend beyond the digital realm. Remember: your Facebook identity is just one aspect of who you are – embrace it and let it enhance your life both online and offline!